Silverlight 3 comes with two built in
Pixel Shaders:
We have the following image:
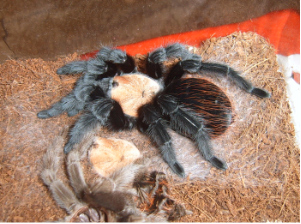
We want to blur it:
| <Image Width="300" |
| Source="http://terraristic.net/photos/ |
| Brachypelma_albiceps/Brachypelma_albiceps_1.jpg"> |
| <Image.Effect> |
| <BlurEffect Radius="8"></BlurEffect> |
| </Image.Effect> |
| </Image> |
We have the following result:
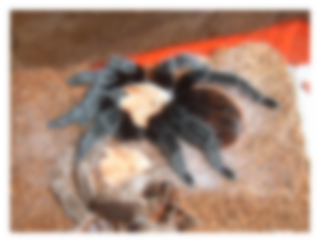
Note the
Radius parameter. The bigger the radius is, the more blurred the picture is.
Now let's make a shadowed picture:
| <Image Width="300" |
| Source="http://terraristic.net/photos/ |
| Brachypelma_albiceps/Brachypelma_albiceps_1.jpg"> |
| <Image.Effect> |
| <DropShadowEffect BlurRadius="30" Color="Gray" |
| Direction="-45" Opacity="0.5" ShadowDepth="20"> |
| </DropShadowEffect> |
| </Image.Effect> |
| </Image> |
The result:
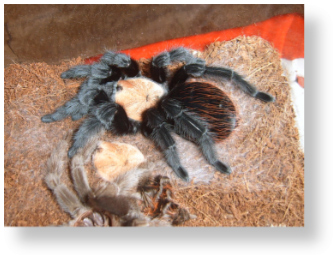
The
DropShadow effect has several parameters:
- BlurRadius - the bigger the radius is, the more blurred the shadow is.
- Color - the shadow color.
- Direction - an angle specifying the direction of the shadow. If you set it to zero the shadow will fall on the right side.
- Opacity - the shadow opacity.
- ShadowDepth - it specifies how far (deep) from the picture the shadow will appear.
You can define your own Pixel Shaders using a special language called HLSL. But this is beyond the scope of this tip.